Wednesday, 6 May 2015

Modelling the head and adding some textures


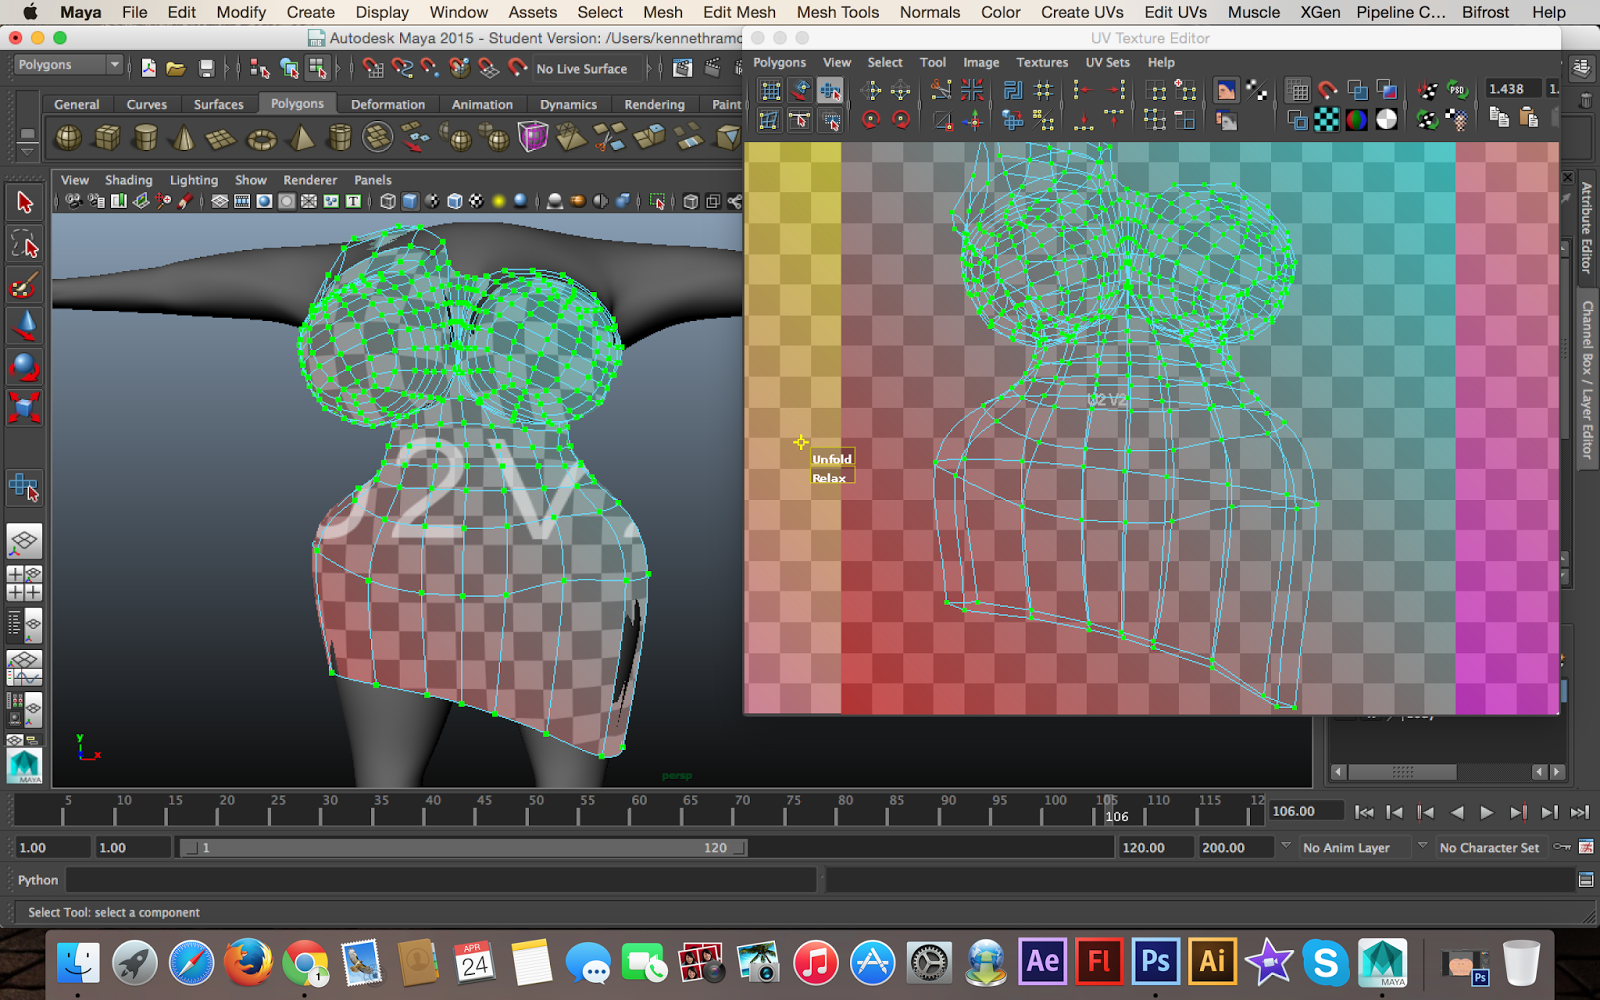
Before I was able to import into photoshops I've use the new method called "Auto Uv unwrapping" which helps me unwrapped quickly rather than the old school ways. I've downloaded the plugin and and import onto photoshops then add texture onto it. Then went onto Maya and add the picture for the texture and I also included the bump maps

For this file, I've worked on the body, I've learnt from display mapping and plannar mapping. My main goal was to get the UV unwrapped.

Monday, 2 March 2015

Disney Frozen Animations on Maya

Here are the videos that I found a year ago and it interested me since I'm learning some stuff on Maya.

the first video are the clips from the behind the scene, where the director and producer come together in the meeting and seeing the process of the work.


the second clips we see the behind the scene on exactly how Maya works on Pixar Animations studios.


Sunday, 1 March 2015

Animating a Locator on a Path in Maya

"If you want to animate the camera on a path coming down while looking at the spaceship and the hangar bay entry door, the first thing you need to do is create a locator object. This object will be animated along the path the same way the spaceship has been animated along its path" 

Reference:
(http://www.cadlearning.com/maya/animating-a-locator-on-a-path/)  

Step By Step: 


Wednesday, 25 February 2015

Research on Character Design and Animation


TOY STORY ANIMATORS 
Links 

https://www.youtube.com/watch?v=su_3e9AU9SA


Looking at the Animators I noticed how they use the graph like we do in Maya, Over the Years Pixar company has used Maya in most films including the recent films "Frozen 2013) and Big Hero 6 2014. This  gives me an idea what they used in studio and the majority of time Animators always use this kind method and other editor. 


https://www.youtube.com/watch?v=0qGlL3J1ZKQ  

In this links are the links that is important for educators who are learning Animating this is also a great example. 

Week03 class3 Continuing to do Animate

Today I've learnt to Animate the rig, the model was the ball, the most important tool to use was the Graph Editor, I find it really confusing because of the random line swirling all over the places, The other method that really useful when animating was "dope Sheet" it really make sense when you are animating the rig. The most important thing that should remember is making sure that I can stretch out the ball up or down to "squash" To move the dope sheet bar (black) is to middle click and drag it to however you wanted to be. But making sure that the red line from the keyframe is located to the position you wish to change. Above the picture are the "Dope Sheet"

The yellow highlight indicate that you are moving the bar either left or right position.


Above are the pose to pose animation from start to finish. By using the graph editor, dope sheet and the keyframe.

 Dope Sheet (picture above)
Graph Editor (picture above)

Sunday, 22 February 2015

Mouse Trouble?

Today, We did two task, Texture and lighting. I find it very basic and simple to understand when it comes to making an object, what I've learned so far was that the mouse did not work. I've investigate the issues and only to find out that the mouse history has changed. My lecture and I also search up on the web to find the problem solve.


(looking for a web to solve the problem) 

 (different mouse setting)

(Original mouse setting) 


Final Render of the "Scooter"